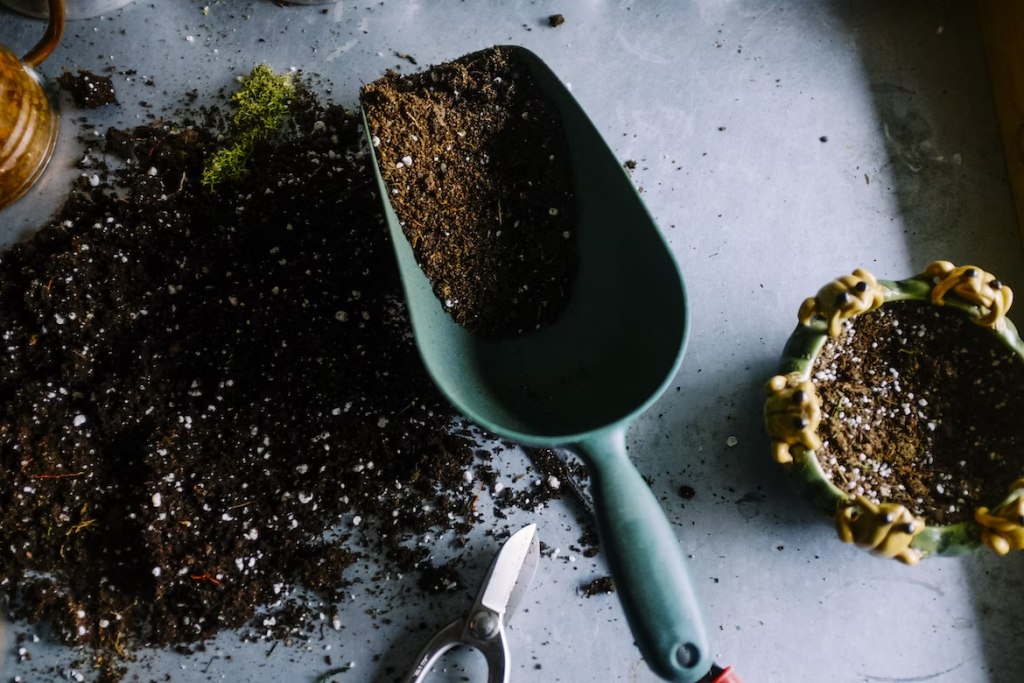
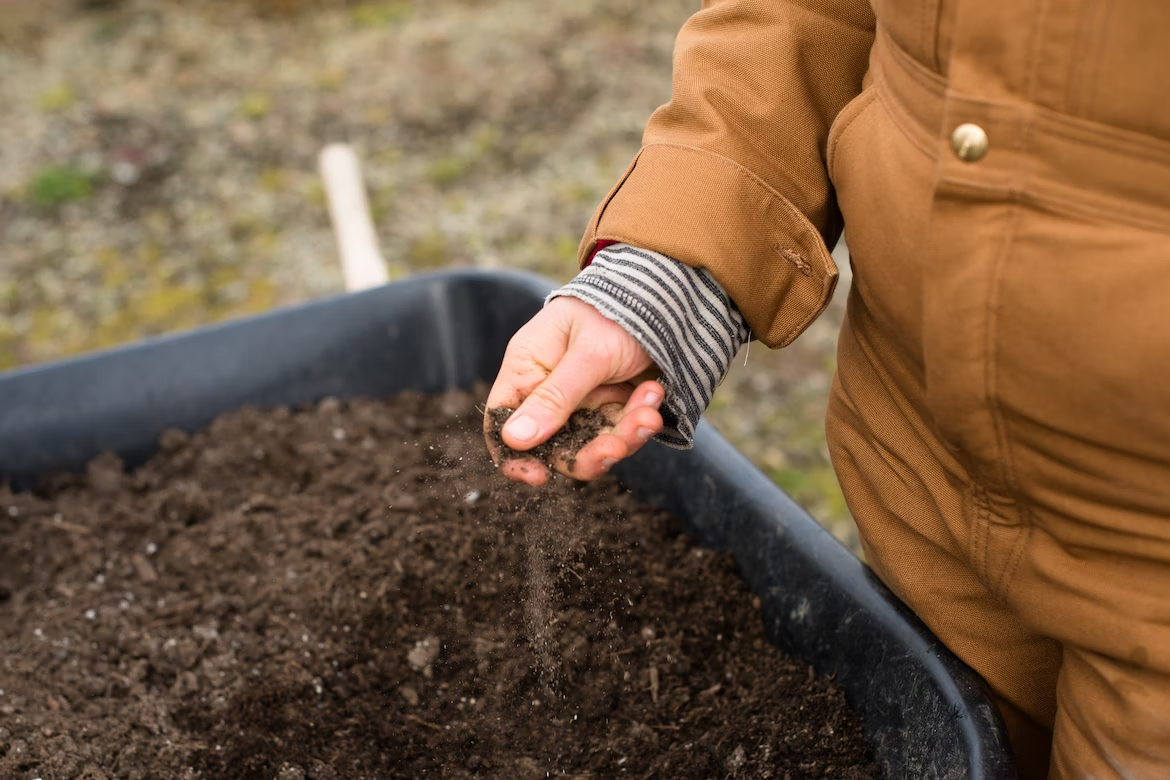
Soil is often an underappreciated aspect of gardening, with many focusing on the importance of water and sunlight. However, it is just as crucial in determining whether plants thrive or merely survive. Soil provides essential nutrients, anchors roots, and supports plant growth.
A critical component of soil health is its pH level, which indicates the acidity or alkalinity of your garden’s foundation. By understanding the importance of soil pH and learning how to test it, you can optimize the environment for your plants and reap the rewards of a flourishing garden.
This article uncovers the secrets of pH testing, presenting various techniques and providing valuable tips on balancing your soil’s pH to guarantee a bountiful harvest.
Why Get a Soil Test?
Getting a soil test is the best way to learn about your garden’s foundation.
A comprehensive soil analysis reveals the pH level and the presence of vital nutrients such as nitrogen, phosphorus, and potassium, which are crucial for plant growth and development. It may also identify potential issues like compaction, poor drainage, or the presence of harmful substances.
The pH scale ranges from 0 to 14, with 7 being neutral. Values below 7 indicate acidity, while values above 7 represent alkaline conditions. Most plants thrive in slightly acidic to neutral soil, with a pH range of 6.0 to 7.0.
The pH level directly affects nutrient availability, impacting plant growth and productivity. An imbalanced pH can lead to nutrient deficiencies or toxicities, causing poor plant performance or even death.
Additionally, certain plants have specific pH preferences, so knowing your soil’s pH can help you select the best-suited varieties for your garden.
How Often Should You Test Your Soil?
Establishing a regular soil testing routine is crucial for maintaining a healthy garden and ensuring optimal plant growth. The frequency of soil testing depends on various factors, such as the type of plants you are growing, your region’s climate, and any previous soil amendments.
As a general rule, it’s recommended to test your soil’s pH level at least once a year, preferably before the start of the planting season. It allows you to make necessary adjustments in time for your plants to benefit from improved soil conditions.
That said, under certain circumstances, more frequent testing may be required. For instance, if you’re growing high-maintenance crops or dealing with problematic soil conditions, consider testing every six months or quarterly.
Similarly, if you’ve recently made substantial amendments to your soil, re-testing the pH level after 3-4 weeks is a good idea to evaluate the effectiveness of your efforts.
Gardeners should also pay attention to visual cues from their plants. If you notice signs of nutrient deficiencies or other issues related to soil pH, conduct an impromptu test to diagnose and address the problem.
By staying vigilant and conducting regular soil tests, you’ll maintain a thriving garden environment that supports robust plant growth and yields impressive harvests year after year.
Visual Assessment

While not a precise method, visually examining your soil can give you a rough idea of its pH level. This approach relies on observing certain characteristics that may indicate acidity or alkalinity.
As you inspect your soil, take note of its color and scent — these factors can offer valuable clues about its pH.
Soils with high acidity often have a light color and may emit a sour smell reminiscent of vinegar or rotten fruit. On the other hand, alkaline soils tend to be darker in color and may have a sweeter aroma.
Keep in mind that this method does not provide an exact pH measurement but serves as a starting point for further investigation.
To get a more accurate result, observe the plants already growing in the area. Some plant species have specific pH preferences and can serve as natural indicators of your soil’s pH level. For example, azaleas and rhododendrons prefer acidic soils, while lilacs and clematis thrive in alkaline conditions.
By observing which plants are flourishing in your garden, you can gain a better understanding of your soil’s pH.
In addition to observing thriving plants, pay attention to those showing signs of stress or poor growth. This could be another indication your soil’s pH is either too acidic or too alkaline for the affected plants’ needs.
Professional Soil Testing Kits
Consider investing in a professional soil testing kit for more accurate results in determining your soil’s pH level. These kits are readily available at most garden centers and can be easily purchased from online retailers.
Every professional soil testing kit includes chemical solutions and a color chart, providing an easy-to-read pH measurement. The process involves mixing a soil sample with the provided solutions and observing the resulting color change. By comparing this color to the provided chart, you can quickly and accurately determine the pH level of your soil sample.
Alternatively, digital pH meters are an excellent choice for those who prefer instant, precise readings without the need for mixing solutions or interpreting color changes. These user-friendly devices function by simply inserting the probe into your soil, allowing the meter to analyze its composition and display the results on the device’s screen.
With their high accuracy and ease of use, digital pH meters have become increasingly popular among gardeners seeking reliable information about their soil’s condition.
DIY Testing Methods
For those who prefer hands-on methods, you can perform several do-it-yourself tests at home to check your soil’s pH level. These DIY options can be both fun and educational, allowing you to understand your garden’s needs better.
One common method involves mixing soil samples with vinegar and baking soda to observe reactions that indicate acidity or alkalinity.
Here are the steps you should take to perform this test:
- Collect a small amount of soil in two separate containers.
- Add half a cup of vinegar to the first container; if it fizzes, your soil is likely alkaline.
- In the second container, add distilled water to create a muddy consistency and stir in half a cup of baking soda. If it bubbles, your soil is acidic.
While this test won’t provide an exact pH value, it can give you a general idea of your soil’s condition.
Another DIY option for testing your soil’s pH is creating a cabbage water pH indicator.
Begin by chopping up one cup of red cabbage leaves and adding them to two cups of distilled water in a saucepan. Bring the mixture to a boil, then reduce the heat and let it simmer for 30 minutes. Afterward, strain the liquid into a jar and allow it to cool; it should have a vibrant purple hue.
To use the cabbage water pH indicator, collect a sample of your garden soil and mix it with enough distilled water to form a slurry. Add approximately one tablespoon of the cooled cabbage water and observe any color change.
If the mixture turns pink or red, your soil is acidic; if it turns blue or greenish, it indicates alkaline conditions.
| pH | 2 | 4 | 6 | 8 | 10 | 12 |
| Color | Red | Purple | Violet | Blue | Blue-Green | Greenish Yellow |
Once again, this method doesn’t provide an exact pH measurement but offers valuable insight into your soil’s overall balance.
Balancing Your Soil’s pH

Once you’ve determined your soil’s pH level, you may need to make adjustments to ensure optimal plant growth. The process of balancing your soil’s pH requires a careful approach, as well as a clear understanding of the amendments needed for both acidic and alkaline soils.
To raise the pH of acidic soils, apply garden lime or wood ashes.
- Garden lime, also known as agricultural limestone, is a natural mineral that neutralizes soil acidity and provides essential nutrients like calcium and magnesium.
- Wood ashes, another organic option, are rich in potassium and can be easily sourced from wood-burning fireplaces or stoves. Nonetheless, using wood ashes sparingly is vital, as excessive amounts can lead to overcorrection.
For alkaline soils, you’ll need to incorporate amendments that lower the pH.
- Sulfur is a popular choice due to its effectiveness in reducing alkalinity when combined with water.
- Peat moss, another option, not only helps lower pH levels but also improves soil structure and moisture retention.
- Aluminum sulfate is a fast-acting alternative that can quickly decrease soil pH; however, it must be used with caution to prevent potential harm to plants.
Remember that adjusting your soil’s pH is a gradual process that requires patience and careful monitoring. Re-test your soil periodically and make small adjustments as needed to avoid overcorrection.
Final Thoughts
Regularly checking and maintaining your soil’s pH level is an essential aspect of successful gardening. A balanced soil pH promotes healthy plant growth and fosters a thriving ecosystem teeming with beneficial microbes and essential nutrients.
By understanding the importance of soil pH, learning how to test it accurately, and making necessary adjustments, you’ll be better equipped to ensure your garden reaches its full potential. With various testing methods available, from DIY approaches to professional kits, you can choose the one that best suits your needs and budget.
Whichever method you opt for, it’s important to remember that regular testing will help you monitor any changes in your soil’s pH over time.
So grab those gardening gloves and get started on the path to a healthy and productive garden today!
Was it helpful?

Enamored with the world of golf Jack pursued a degree in Golf Course Management at THE Ohio State University. This career path allowed him to work on some of the highest profile golf courses in the country! Due to the pandemic, Jack began Inside The Yard as a side hustle that quickly became his main hustle. Since starting the company, Jack has relocated to a homestead in Central Arkansas where he and his wife raise cattle and two little girls.

